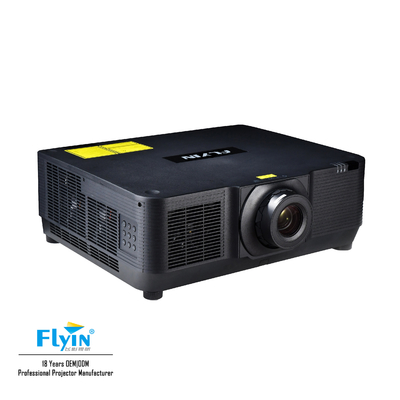
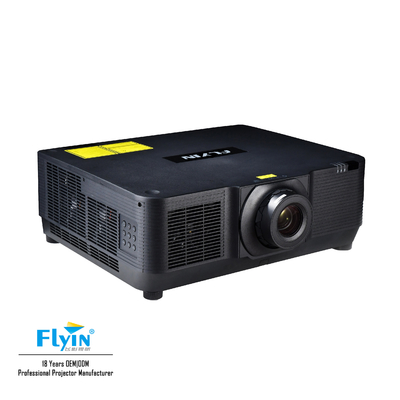
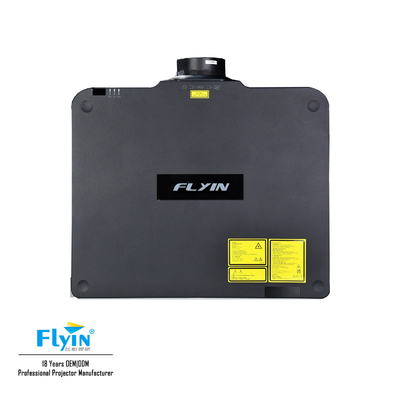
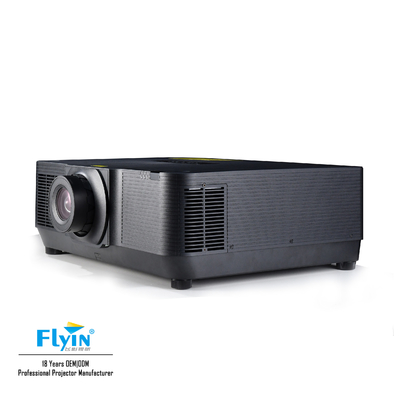
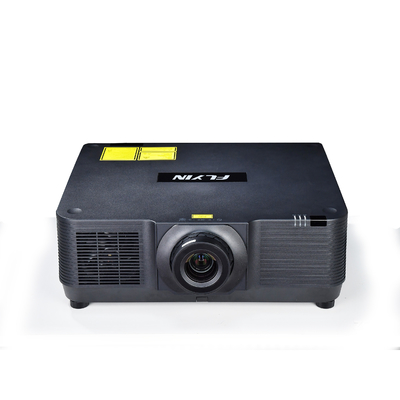
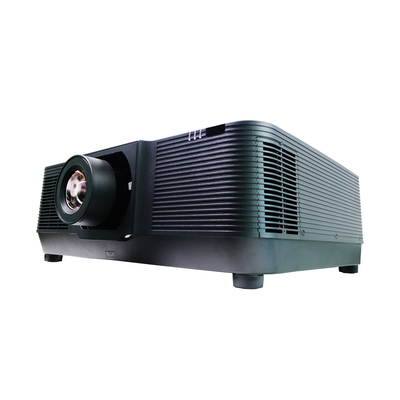
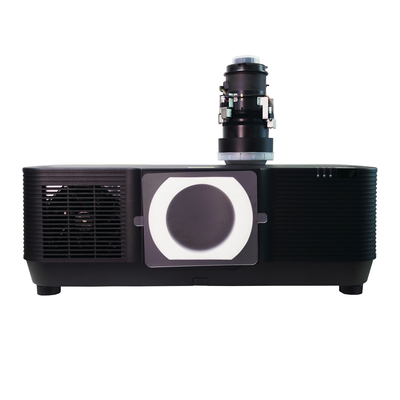
Remove the lens preparation:
1. Turn on the projector to display the image.
2. Press and hold the lens release button for more than 2 seconds. The lens position will move to the original position.
3. Turn off the main power switch and unplug the power cord.
4. Wait for the projector chassis to cool enough to handle it.
5. When the release button at the bottom of the lens base on the front panel of the projector is fully pressed, turn the lens counterclockwise.
*Lens release 3. Slowly put down the projector lens. *After removing the lens, install the lens cover (front and rear) attached to the lens Before you save the goal.
*If no target is installed on Projector, install dust cover accessories Projector.
*Do not touch or remove any other parts, except the target and its related parts. Otherwise, you may encounter product failure, electric shock, fire or other events.
*Make sure the lens model is compatible with the projector before installation.
*The replacement of optional lenses must be completed by professionals. During the replacement process, please pay attention to the mechanical damage and thermal burn of the lens.
*For more information about the lens and its installation, please call your local dealer.
*Be careful when removing the lens. Don't let him down.
*When replacing the optional lens, for safety reasons only, be sure to cut off the power supply to avoid electric shock, fire and other safety accidents.

 Your message must be between 20-3,000 characters!
 Please check your E-mail!
  Your message must be between 20-3,000 characters!
 Please check your E-mail!


